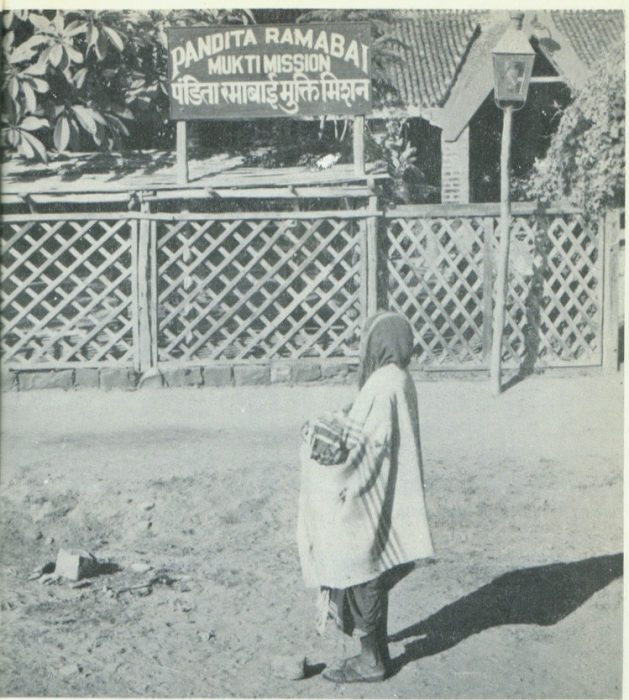
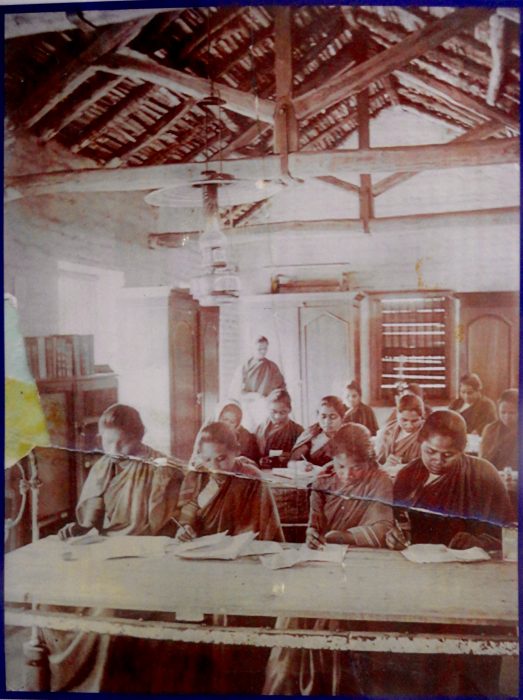
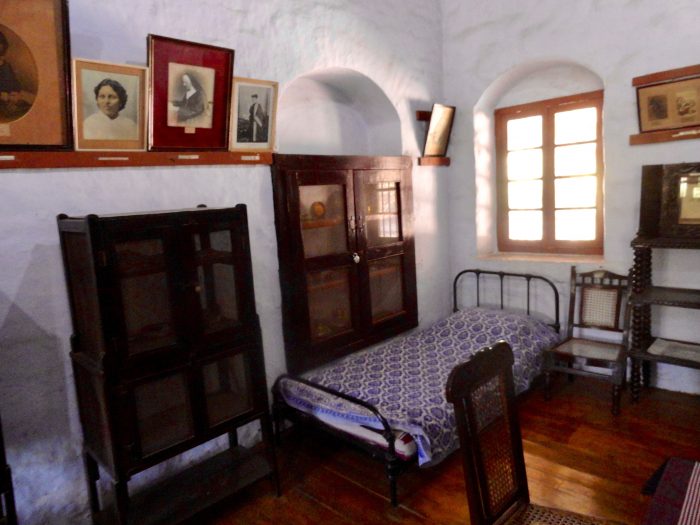
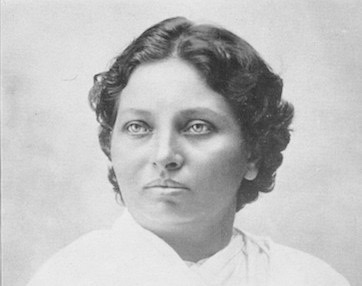
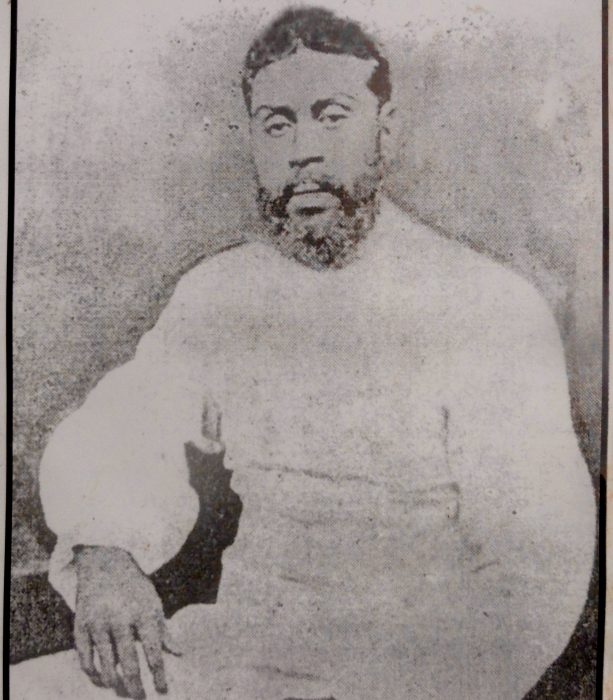
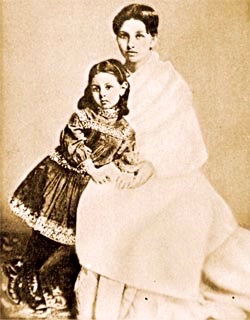
Entrance to Mukti Students at Mukti Rama’s family. L-R Laxmibai, Rama, Anant Shastri, Srinivas, Krishna Ramabai’s Bedroom and Office at Mukti Ramabai and Manorama Pandita Ramabai Bipin Medhavi Ramabai and Manorama Manorama SANDRA’S BOOKS: Ambition, Arrogance & Pride; Saxon Heroines; Two Coins; Rama’s Labyrinth